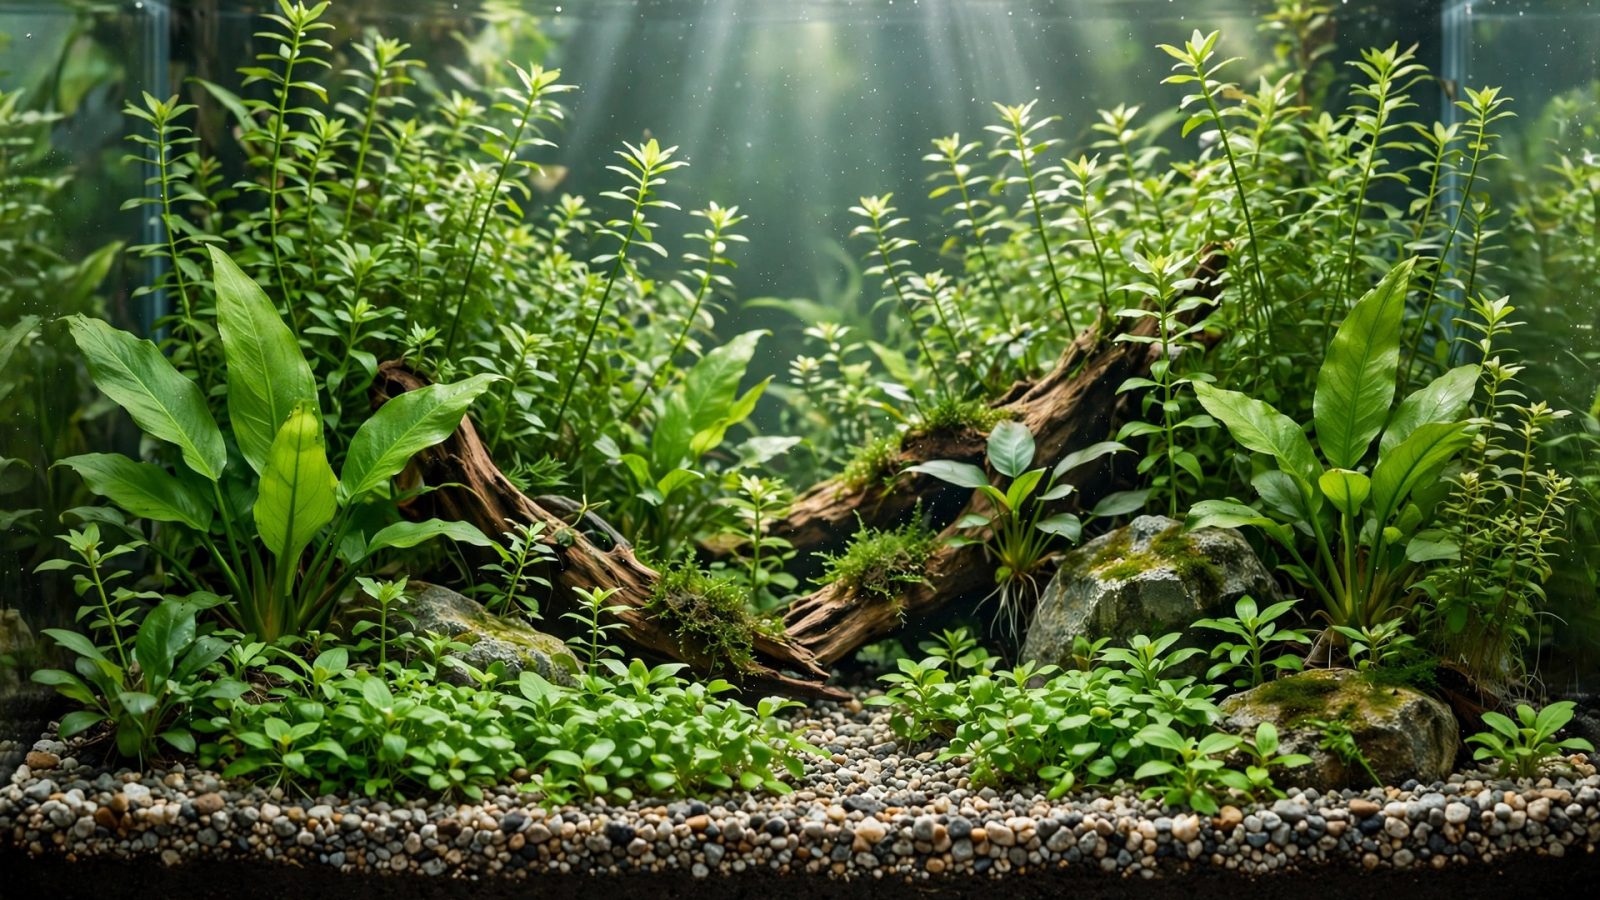
A dirted tank — an aquarium with organic soil under a gravel or sand cap — gives your plants a nutrient-rich root zone that no liquid fertilizer fully replicates. It’s the practical heart of the Walstad method, but you don’t need to adopt the whole philosophy to use one: plenty of aquarists run dirted substrates with conventional filters and water-change routines and get spectacular growth.
This is the hands-on companion to the theory. Every step below, in order, with the mistakes to avoid. If you’re deciding between approaches first, compare with our low-tech setup guide.
What You’ll Need
- Organic potting soil — the single most important purchase. Must be organic with no added chemical fertilizers, no perlite (those white balls float), and no moisture-retaining crystals. Plain topsoil works too. Avoid “garden soil” with unknown amendments.
- Cap material — fine gravel or coarse pool-filter sand, 1–1.5 inches worth. The cap keeps soil out of the water column while letting roots penetrate.
- A sieve or colander — for sifting out wood chunks, bark, and debris from the soil.
- A bucket — for mineralizing (optional but recommended).
- Plants — lots of them. Fast-growing stems especially. See the planting list below.
- Dechlorinator, heater, filter, light — standard equipment; nothing exotic.
Step 1: Prepare the Soil (Don’t Skip This)
Bagged organic soil contains wood chips, bark, and uncomposted matter that will float, rot, and spike ammonia if buried raw. Preparation takes an afternoon and prevents most dirted-tank disasters.
Sift it. Pour the soil through a coarse sieve or colander, breaking up clumps. Remove wood pieces, bark, stones, and anything that isn’t fine soil. What passes through is your substrate.
Mineralize it (recommended). Soak the sifted soil in a bucket of water for 2–3 days, then drain, spread it to dry partially, and repeat 2–3 times. Each soak-drain cycle leaches excess ammonia, tannins, and soluble organics — the stuff that causes the worst new-tank algae blooms. You’ll notice the soak water getting clearer each round. This single step separates smooth dirted builds from chaotic ones.
Pick out floaters. After the final soak, skim anything floating. If it floats now, it’ll float in your tank.
Step 2: Lay the Soil Layer
Add 3/4 to 1 inch of prepared soil to the dry tank. Thicker isn’t better — deep soil goes anaerobic, producing hydrogen sulfide (rotten-egg smell) and potentially harming roots. One inch is the sweet spot for most tanks; go 3/4 inch in tanks under 10 gallons.
Spread it evenly and mist it damp — not wet. Damp soil holds its shape; soupy soil mixes with the cap and clouds everything. If you’re creating slopes or terraces, now’s the time; soil holds sculpted shapes better than gravel.
Step 3: Cap It
Add 1–1.5 inches of cap material over the soil. Pour gently or place it by hand — don’t dump from height, which punches through to the soil. The cap serves three purposes: it keeps soil particles out of the water, it looks natural, and it gives rooted plants something clean to anchor in while their roots reach down to the soil.
Sand caps look sleek and suit bottom-dwellers, but sand compacts and can seal the soil too tightly — stir it gently during maintenance. Fine gravel breathes better and is more forgiving for beginners. Either works; pick based on aesthetics and livestock.
Critical: the cap must fully cover the soil edge-to-edge, including against the glass. Any exposed soil becomes a cloudy mess the moment you add water.
Step 4: Plant Heavily — Before Filling
Plant in the damp (not flooded) tank. This is the #1 advantage of the dry-ish build: you can see what you’re doing, plants stay where you put them, and you won’t stir up soil.
Planting Order
- Background stems first — vallisneria, water sprite, anacharis, ludwigia. Push stems deep through the cap into the soil.
- Midground rosettes — crypts, swords. These are heavy root feeders; the soil is exactly what they want.
- Epiphytes on hardscape — anubias, java fern tied or glued to wood/rock (never buried).
- Foreground last — dwarf sagittaria, Staurogyne repens, mosses.
Target 70%+ substrate coverage on day one. This feels like too many plants. It isn’t — it’s the ammonia-processing workforce your tank needs. Fast growers are mandatory in a new dirted tank; they’re the biofilter. Our planting density guide explains the math.
Step 5: Fill Without Disturbing
Lay a dinner plate, plastic bag, or paper towels on the substrate and pour water onto it — never directly onto the cap. Fill slowly to about 80%. Expect some cloudiness and a tea-colored tint; both are normal and temporary. If a soil plume erupts somewhere, cap that spot with extra gravel once the water settles.
Dose dechlorinator for the full volume. Install heater and filter. Set lights to 6 hours daily on a timer — new dirted tanks plus long photoperiods equal algae.
Step 6: The First Month (Patience Phase)
Here’s what to expect and what to do:
- Week 1–2: Possible ammonia spike as the soil settles. Test every few days. Do 30–50% water changes twice a week — this is the one phase where frequent changes help, flushing excess organics while bacteria and plants establish.
- Algae: Diatoms (brown dust) and some green algae are normal. Don’t panic, don’t blackout, don’t add chemicals — keep the photoperiod short, keep up water changes, and let the plants outcompete it.
- Melting: Crypts especially may melt. Leave the roots; new growth adapted to your water follows.
- Gas bubbles: Small bubbles rising from the substrate are normal soil off-gassing. Gently poke the substrate with a skewer weekly to release trapped gas — but don’t deep-stir.
Add livestock only after ammonia and nitrite read zero consistently — typically 3–4 weeks. The silent cycling method pairs perfectly with dirted builds. When you do stock, our schooling fish guide has plant-safe picks.
Long-Term Maintenance
- Don’t deep-vacuum. Gravel-vac only the cap surface lightly. Deep digging pulls soil up and releases an ammonia pulse.
- Replant, don’t uproot aggressively. When stems get leggy, trim tops and replant them; pull old bottoms gently. Major rescapes in dirted tanks are messy — plan layouts to last.
- Root tabs annually. After a year or two, push root tabs near heavy feeders to recharge the soil.
- Water changes: Settle into your normal routine (25% weekly is fine) or go the minimal-change Walstad route once stable.
Troubleshooting
Persistent cloudiness: The cap is too thin somewhere or soil is escaping. Add cap material to thin spots; run fine filter floss temporarily to polish the water.
Rotten-egg smell: Anaerobic pockets — soil too deep or cap too compacted. Poke the substrate to release gas, thin the soil if it’s over an inch, and consider Malaysian trumpet snails, which burrow and aerate the substrate naturally.
Soil leaching through the cap: Usually from disturbing the substrate. Cap the breach, do a water change, and leave it alone.
Algae explosion in month one: Almost always too much light plus excess soil nutrients. Cut the photoperiod to 6 hours, double water changes for two weeks, and make sure fast-growing stems dominate the planting.
Dirted vs. Aquasoil: Honest Comparison
Commercial aquasoils (ADA Amazonia, Fluval Stratum) are essentially pre-packaged dirted substrates — baked soil granules with consistent nutrition and less mess. They cost 10–20x more than potting soil but offer predictable ammonia leach, uniform granules, and easier rescaping. Dirted tanks cost almost nothing and grow plants just as well once established, but demand more patience upfront and punish rescaping. For a first soil tank on a budget, dirt wins. For aquascapers who rescape often, aquasoil earns its price.
Frequently Asked Questions
Will soil hurt my fish? Properly prepared and capped soil is safe. The risk window is the first weeks (ammonia leach) — which is why you cycle before stocking, same as any tank.
Can I use garden soil from my yard? Risky. Unknown pesticides, fertilizers, and contaminants. A $5 bag of organic potting soil eliminates the gamble.
How long does the soil last? Years. The nutrient bank depletes slowly; supplement with root tabs after 12–18 months near heavy feeders.
Can I cap with sand over soil? Yes, but keep the sand layer at 1 inch and stir it lightly during water changes to prevent compaction sealing the soil.
The Bottom Line
A dirted tank trades one afternoon of soil prep and one patient month for years of explosive, nearly free plant growth. Sift and mineralize the soil, keep it to an inch, cap it completely, plant ridiculously heavily, and resist the urge to fiddle. The soil does the rest — it’s been growing plants for a few hundred million years.
Soil Selection Deep-Dive
Not all “organic” soils are equal. Here’s what to look for and avoid:
- Good: Plain organic potting soil or organic topsoil. Ingredient list should read like a garden: composted bark, peat, compost. No added fertilizers.
- Avoid: Anything with “feeds for 6 months” / slow-release fertilizer beads — these dump ammonia and nitrates unpredictably. Perlite (floats forever). Vermiculite (breaks down to mush). Moisture-control crystals. Fresh manure.
- The peat question: Peat-heavy soils acidify water mildly — usually fine, even beneficial. But very peaty soils can drop pH dramatically in soft water; test after setup.
- Sifting matters more than brand. Two bags of the same soil differ more than two brands. Sift well and any decent organic soil works.
Mineralization: The Full Protocol
The soak-drain cycle deserves detail because it’s the highest-leverage step:
- Sift soil into a 5-gallon bucket, filling 1/3.
- Fill with water, stir vigorously, let settle 10 minutes.
- Pour off the floating debris and cloudy water (through a net to catch escapees).
- Refill, soak 48–72 hours.
- Drain completely, spread soil on a tarp to dry to damp (not bone-dry).
- Repeat steps 2–5 two more times.
Three cycles remove the majority of leachable ammonia and excess organics. You’ll know it’s working: cycle-one soak water is dark tea; cycle three is pale straw. Some builders add a garden-soil “starter” handful after mineralizing to reintroduce beneficial microbes — optional but sensible.
Cap Materials Compared
- Fine gravel (2–3mm): Best all-rounder. Breathes well, easy to plant through, natural look. The beginner default.
- Pool-filter sand: Sleek, great for bottom-dwellers, but compacts — stir gently during water changes and keep to 1 inch.
- Coarse sand / fine aquasoil: Premium look and function; aquasoil caps add their own nutrient buffer.
Cap depth is a balance: too thin (<1 inch) and soil escapes; too thick (>2 inches) and roots struggle to reach the soil while anaerobic risk rises. 1–1.5 inches is the window.
Stocking a Dirted Tank
Dirted tanks suit the same livestock as any planted tank, with two notes: bottom-dwellers that dig vigorously (large cichlids, big loaches) can breach the cap — choose accordingly or go deeper on cap depth. And shrimp love dirted tanks; the microbial life in the substrate is a constant food source. A dirted shrimp colony is one of the hobby’s great pairings.
For schooling fish that complement the natural aesthetic, see our schooling fish guide; for water parameter targets as the soil matures, water parameters.
When Dirted Goes Wrong: Case Studies
“My tank is still cloudy after two weeks.” Almost always insufficient cap or unmineralized soil with fine particles. Fix: add cap material to thin spots, run fine filter floss, and wait — it clears. Aggressive water changes prolong it by stirring the substrate.
“Ammonia won’t drop after a month.” Soil too thick (over 1.5 inches) or unmineralized high-organic soil. Fix: large water changes, add more fast-growing plants (they’re the ammonia sink), and poke the substrate to release trapped pockets. It resolves; soil ammonia is finite.
“Everything died but the water tests fine.” Check for contaminants: non-organic soil with fertilizer, treated wood in the tank, or aerosol contamination (cleaning sprays near an open tank). The soil itself is rarely toxic if properly sourced.
Tools That Make It Easier
- Aquascaping tweezers: Planting stems through a cap without stirring soil is nearly impossible by hand. Long tweezers ($10) are the dirted builder’s essential tool.
- Spray bottle: Mist plants constantly while working in the damp tank. Dried-out leaves don’t recover.
- Turkey baster: Spot-cleaning debris and gently blowing detritus off the cap without disturbing it.
- Fine filter floss: Run in the filter for the first two weeks to polish the inevitable initial cloudiness, then remove.
Dirted Tanks and CO2: Do They Mix?
Yes — soil + CO2 injection is a legitimate high-growth combination. The soil feeds roots while CO2 feeds leaves; growth rates rival aquasoil-based high-tech tanks. The caveat: CO2 accelerates everything including the soil’s nutrient release and algae risk, so balance light carefully and plant even more heavily. Most dirted keepers stay low-tech because the soil already provides such strong growth — CO2 is gilding the lily, but it’s your lily.
Dirted Tank FAQ Additions
Can I add soil to an existing tank? Not without a teardown — soil must go under the cap. The practical upgrade path: set up a second tank dirted, or plan it for your next build. Half-measures (soil in mesh bags under gravel) work poorly.
How do I know the soil is exhausted? Heavy root feeders (swords, crypts) slow down after 1–2 years while water-column plants stay fine — that’s the soil bank depleting. Push root tabs around them; full soil replacement is rarely needed.