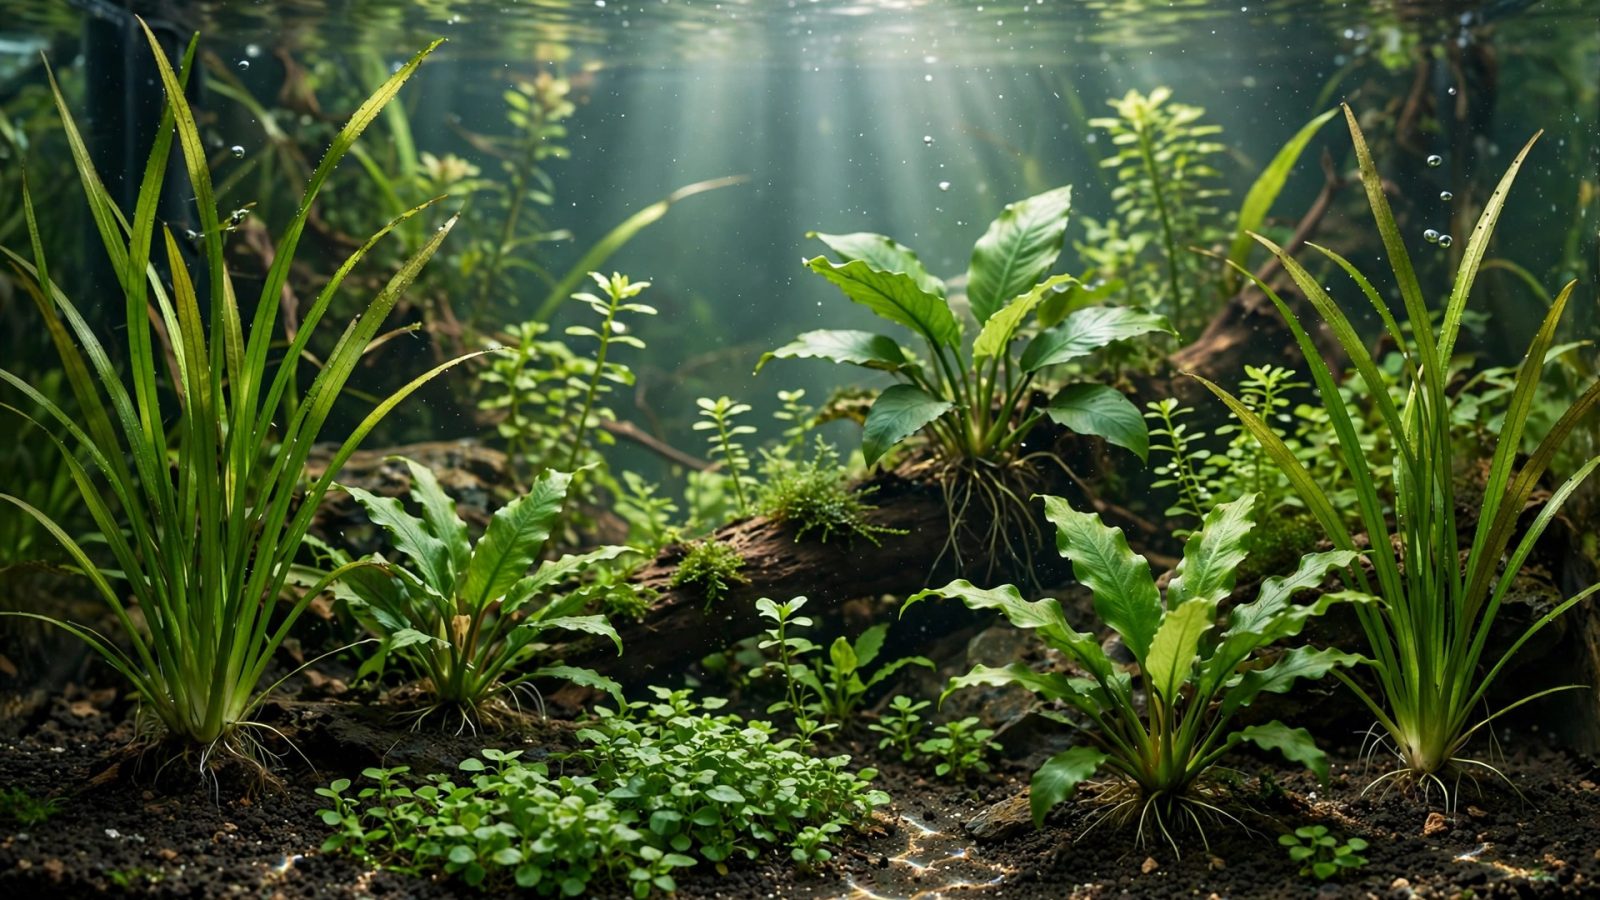
You plant it carefully, step back to admire your work — and within an hour it’s floating at the surface. Few beginner frustrations are as universal as aquarium plants that won’t stay planted. The good news: plants float up for predictable, fixable reasons, and learning how to plant aquarium plants in substrate correctly takes one session to master.
This guide covers the technique for each plant type, the tools that make it easy, and how to fix the specific reasons your plants keep escaping.
Why Plants Float Up (The Three Causes)
Before technique, diagnosis — plants escape for one of three reasons:
- Planted too shallow. The most common cause. A stem pushed half an inch into gravel has almost no grip; substrate shifts, fish nudge it, and up it comes. Most plants need 1–2 inches of buried stem or root.
- Buoyant plant tissue. Healthy plants are full of gases and naturally buoyant. Fine, and newly planted specimens haven’t grown anchoring roots yet, so buoyancy wins until roots develop (usually 1–2 weeks).
- Disturbance. Bottom-dwelling fish (corydoras, loaches), digging cichlids, or your own gravel vacuum dislodge shallow plantings. If the same plant floats repeatedly in a tank with diggers, the problem is the fish, not your technique.
The Essential Tool: Planting Tweezers
Fingers are terrible planting tools — they’re too blunt, they disturb too much substrate, and they can’t place a stem precisely. Long aquascaping tweezers (10–12 inch) are the single most important planting tool:
- Grip the plant’s base or stem firmly but gently
- Push straight down into the substrate to the target depth
- Open the tweezers slightly and withdraw them at an angle, letting substrate collapse around the stem
- Give the surrounding substrate a gentle pinch with the tweezers to firm it
The angled withdrawal is the key move — pulling straight up drags the plant back out with the tweezers. Angle out, and the substrate holds the plant while the tool exits. Practice this motion and floating becomes rare.
Planting by Type
Stem plants
Strip leaves from the bottom 1–2 inches of stem (buried leaves rot and destabilize the planting). Bunch 3–5 stems together and push the bundle 1.5–2 inches deep. Planting stems individually gives a natural look but takes longer; bundles establish faster and hold each other in place. Space bundles an inch or two apart so light reaches lower leaves. Our trimming guide covers what to do once they take off.
Rosette plants (swords, cryptocorynes, dwarf sagittaria)
These have a crown — the point where roots meet leaves — and crown depth is critical: roots buried, crown exposed. Push the roots 2–3 inches deep, but keep the crown exactly at the substrate surface. A buried crown rots (the #1 crypt killer); a crown floating above the surface with exposed roots won’t anchor. Spread the roots outward with your fingers before pushing in — fanned roots grip far better than a clumped ball.
Place a root tab a few inches away at planting time so the plant has nutrition waiting when its roots reach out.
Carpeting plants
Split pots or tissue-culture portions into small clumps of 5–10 plantlets. Using tweezers, push each clump into the substrate so just the leaf tips show — roughly half an inch deep. Space clumps 1–2 inches apart in a grid; they’ll spread via runners to fill the gaps. Planting too deep suffocates them; too shallow and they drift. The “leaf tips just showing” rule nails the depth every time.
Bulb plants (tiger lotus, aponogeton)
Push the bulb halfway into the substrate — roughly 50% buried, 50% exposed. Fully buried bulbs rot; fully exposed bulbs get knocked around. Roots will grow from the bulb’s base within days and anchor it firmly.
Epiphytes (anubias, java fern, bucephalandra)
These don’t go in the substrate at all — burying the rhizome kills them. Attach to wood or rock with thread, superglue gel (cyanoacrylate), or by wedging into crevices. See how to attach plants to driftwood and how to attach plants to rocks for the three methods.
When Plants Keep Floating: Fixes That Work
Plant weights
Soft lead-free plant weights (or ceramic rings) wrapped loosely around the stem base add just enough ballast to hold new plantings until roots develop. Remove them after 2–3 weeks once the plant is anchored — left permanently, they can constrict growing stems.
The dry-start advantage
For carpeting plants especially, the dry start method eliminates floating entirely: plant into damp (not flooded) substrate, cover the tank with cling film to hold humidity, and let the carpet root for 4–8 weeks before flooding. Roots establish in air far faster than underwater, and flooded carpets planted this way essentially never float.
Deeper substrate in planting zones
If your substrate is only an inch deep, nothing will stay planted. Build planting areas up to 2–3 inches (deeper in back, shallower in front — which also improves the scape’s sense of depth). Our substrate depth guide gives exact numbers by plant type.
Temporary barriers for diggers
In tanks with corydoras, loaches, or cichlids, ring new plantings with small stones for the first couple of weeks. Once roots anchor the plant, remove the ring. For persistent diggers, consider whether the species is compatible with planted tanks at all — our cichlid-proof plant guide covers the toughest options.
Planting Tools Beyond Tweezers
Tweezers are the headline tool, but a few more make planting dramatically easier:
- Curved tweezers — for planting under hardscape overhangs and in tank corners where straight tweezers can’t angle properly. If you only buy one pair, make it curved.
- Aquascaping scissors (wave scissors) — for trimming stems to uniform length before planting, so background rows come out even.
- A planting spatula or old credit card — for smoothing substrate after planting and tucking carpeting-plant edges down.
- A spray bottle — mist plants during long planting sessions. Emersed leaves dry out surprisingly fast under tank lights, and desiccated leaves melt worse after planting.
- Small bowls of tank water — keep sorted plants damp and organized by species while you work. A dry plant on the counter is a dying plant.
Planting in Different Substrates
Aquasoil
The easiest planting medium — soft, grippy, and nutrient-rich. Stems push in effortlessly and stay put. The main caution: aquasoil is light and crumbly when new, so plant a bit deeper than usual (the soil settles over the first weeks and can expose shallow roots). Don’t cap aquasoil with sand — it defeats the soil’s nutrient exchange and looks muddy within months.
Sand
Sand holds plants well once they’re in, but the fine grains collapse around the tweezers and can drag the plant back out during withdrawal — the angled-exit technique matters most here. Plant slightly deeper than in aquasoil and consider plant weights for the first two weeks. Our sand substrate guide covers the full method including root-tab placement.
Gravel
Coarse gravel is the trickiest: large gaps between grains give stems nothing to grip, and plants work loose easily. Push stems deeper (2+ inches), angle them slightly so they wedge between grains, and use plant weights liberally. Fine gravel (2–3mm) plants almost as easily as sand; pea gravel (5mm+) fights you the whole way. Root tabs are essential in gravel — see liquid fertilizer vs root tabs.
Troubleshooting: Plant-by-Plant Quick Fixes
- Dwarf hairgrass keeps floating: split into smaller portions (10–15 blades each), plant each tuft so only the top third shows, and plant in a grid — large clumps have too much buoyancy per anchor point.
- Monte carlo won’t stay down: the classic floater. Dry-start it if possible; otherwise plant tiny 5-plantlet portions, mist heavily, and keep flow low for two weeks. Weights help.
- Stem plants rot at the base: you buried leaves, not just stem. Strip every leaf from the buried section — buried leaves rot, the rot spreads to the stem, and the plant detaches. Clean stem in the substrate, leaves only above it.
- Swords/crypts melt after planting: usually crown depth (buried crown) or transplant shock, not planting failure. Check the crown is exactly at the surface and give it 3–4 weeks per our acclimation guide.
- Anubias rhizome turning brown: it’s buried or wedged too tightly. The rhizome must be fully exposed to water flow — tie or glue it to hardscape instead.
- Everything floats in a new setup: your substrate is too shallow. You need 2–3 inches in planting zones; an inch of substrate can’t hold anything. Add more before replanting.
New Plants: The First Two Weeks
Freshly planted specimens are at maximum float risk before roots develop. Help them through it:
- Don’t gravel-vac near new plantings for the first two weeks — the suction lifts shallow roots effortlessly.
- Keep flow moderate — redirect filter output away from new plantings until they’re anchored.
- Check daily for the first week and replant escapees immediately — a plant left floating for days grows roots horizontally and becomes harder to plant properly.
- Expect some melting — new plants often shed old leaves while adapting (see how to acclimate new plants). Melted leaves aren’t a planting failure; replant the healthy remainder.
Planting is a motor skill, not a knowledge problem — your fifth planting session will feel completely different from your first. Get the tweezers, respect the crown-depth rule, plant deeper than feels necessary, and within a month you’ll be planting stems one-handed while wondering why it ever seemed hard.